How to Make Perfect Test Strips in the Darkroom — UK Beginner's Guide
Making test strips is the foundation of successful darkroom printing. A test strip shows you exactly how long to expose your photo paper before you waste a full sheet, saving money and chemicals while helping you nail exposure and contrast in your final print.
Why Test Strips Matter
When you're enlarging a negative, the light from your enlarger head passes through the negative and lens onto your paper. But how long should it stay on? Two seconds? Five? Twenty? Without a test strip, you're guessing.
A test strip reveals the correct exposure time by showing you a series of increasingly exposed areas on a single piece of paper. You compare these against your negative and determine which exposure setting looks right. This single step prevents countless ruined prints and builds your intuition for how your particular enlarger and paper behave.
What You'll Need
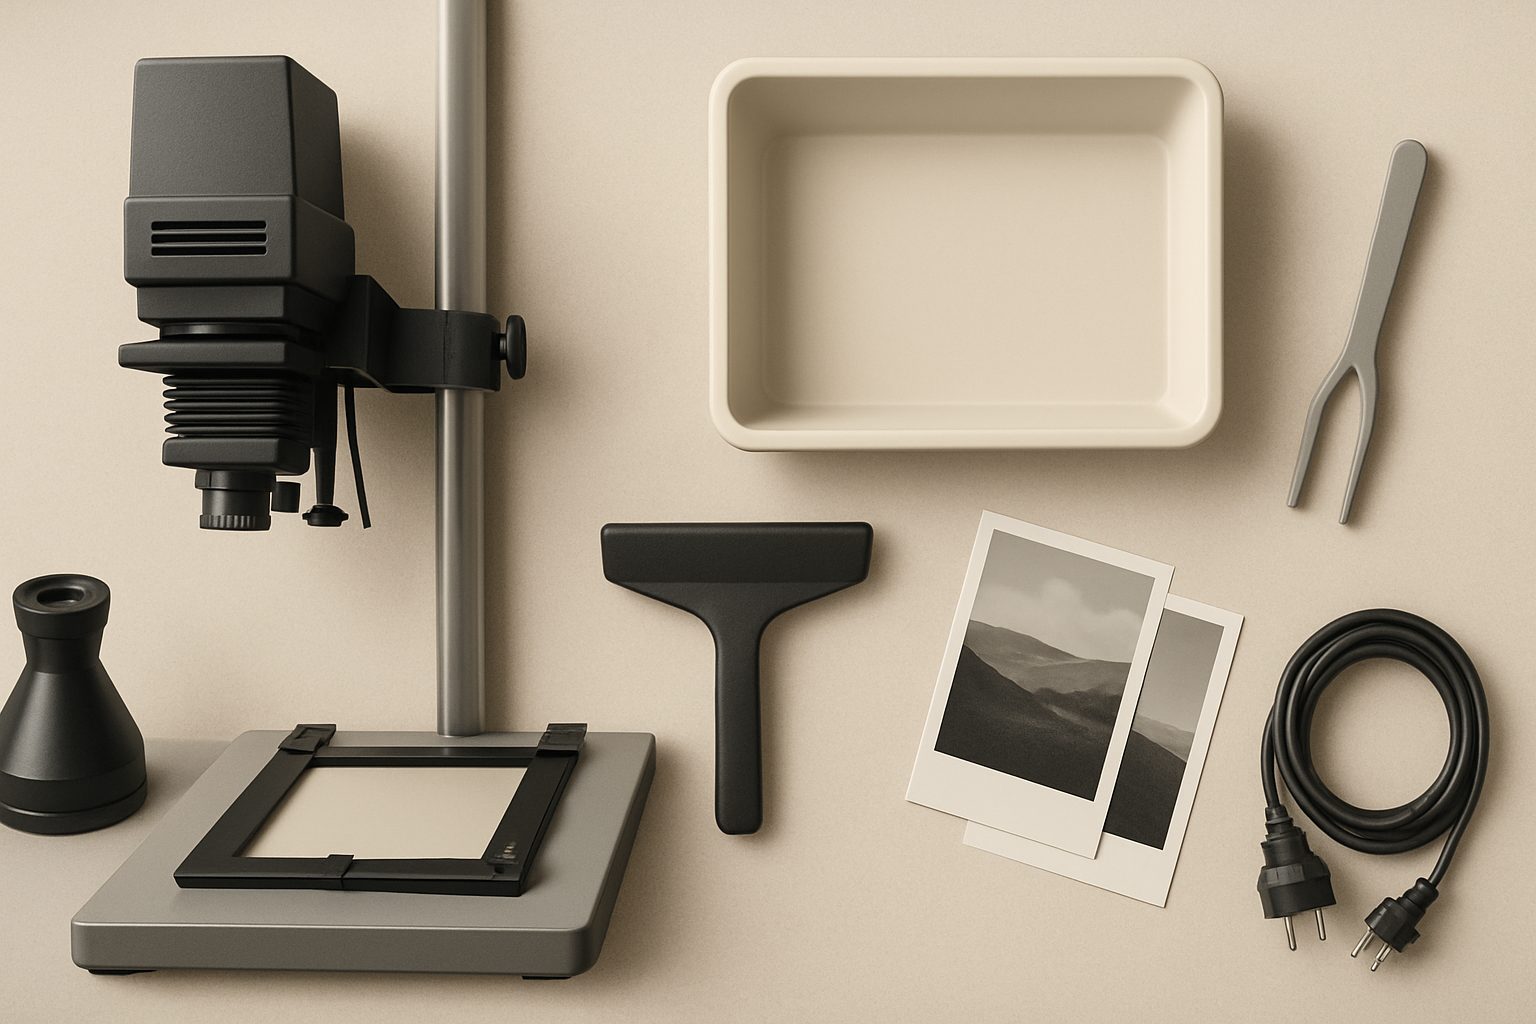
The equipment list is short. You need:
- Your enlarger (already set up with negative and lens)
- One sheet of printing paper (usually offcuts or cheap stock work fine for testing)
- A way to block light (a piece of card or opaque ruler works perfectly)
- Your timer (essential for consistent, repeatable results)
- A developing tray or set of trays
Most UK darkroom enthusiasts use variable-contrast paper like Ilford Multigrade RC, which lets you adjust contrast without changing paper stock — this flexibility makes testing quicker because you can dial in contrast without reprinting.
The Standard Strip Method
This is the most reliable approach for beginners.
Step 1: Prepare the enlarger
Set your exposure time to start with a guess — often around 10–15 seconds for Multigrade paper under a standard enlarger. (You'll adjust this based on what the test strip shows.) Set your contrast filter to about grade 2 — neutral middle ground.
Step 2: Position your paper
Place a single sheet of paper, glossy side up (shiny side faces the light from the enlarger), in the easel. Landscape orientation often works best because it gives you a longer strip to work with.
Step 3: Make the test exposures
This is where you create different exposure times on one sheet. Set your timer. When you start it, immediately lay your card (or ruler) across the paper, covering most of it. Let the timer run for your chosen interval — say, 2 seconds. Then slide the card to uncover another section of paper and let the timer run for another 2 seconds. Repeat this five or six times, progressively uncovering the strip.
By the end, you have one sheet showing six different exposure times: 2 seconds, 4 seconds, 6 seconds, 8 seconds, 10 seconds, and 12 seconds. This range usually brackets the correct exposure somewhere in the middle.
Step 4: Develop immediately
Process the test strip straight away — don't waste time. Slide it into your developer (usually 20°C, 1–2 minutes agitation for RC paper), then stop bath, then fixer. The sooner you see the result, the sooner you can adjust and print your actual picture.
Reading Your Test Strip
Once fixed and rinsed, look at your strip under normal light.
You're looking for the section that looks right — not too dark, not too light. The blacks should be deep and solid, and the midtones should show detail without looking grey or thin. Shadows shouldn't be muddy, and highlights shouldn't be blown out.
If all sections look too dark, your enlarger light is too bright, or the negative is dense, or your enlarger is positioned too close. Next time, use less light (close the aperture on the lens) or increase distance.
If all sections look too light, the opposite applies — you need more light.
Once you identify the best-looking section, note down the exposure time. That's your starting point for the actual print.
Adjusting Contrast on the Same Strip
Variable-contrast paper is a game-changer here. You can make a second test strip using exactly the same exposure time but with a different contrast filter — say, grade 0 or grade 3 — to compare how contrast affects the image. This saves you making multiple full-size prints just to dial in both exposure and contrast.
Common Mistakes
Testing too few times. A strip with only two or three exposures doesn't give you enough comparison points. Aim for five or six.
Overlapping too much or too little. If your card moves too far between each exposure, you get gaps in your information. If you barely move it, adjacent exposures blur together and you can't read the results clearly.
Not processing immediately. Waiting hours to develop your test strip breaks your workflow and makes it harder to remember exactly what you changed.
Ignoring the dry-down effect. RC prints dry down slightly darker than they look when wet. Get used to this — compare your test strip dry to how it looked wet, and you'll soon develop a feel for it.
Next Steps After Testing
Once you've nailed the exposure time, make your full print using that time and your chosen contrast grade. You might still want to make a second or third print to fine-tune — small changes in aperture or timer accuracy do matter — but the test strip gets you 90% of the way there.
Many darkroom workers keep notes on successful exposures and contrast settings for favourite negatives. Over time, you start recognising patterns: a thin, contrasty negative might always need grade 0 or 1, whilst a flat negative benefits from grade 3 or 4.
Making test strips isn't wasted paper or chemicals — it's your roadmap to consistent, technically excellent prints.
More options
- Darkroom Enlargers (various brands) (Amazon UK)
- Enlarger Lenses (El-Nikkor, Rodagon, Componon-S) (Amazon UK)
- Darkroom Timers & Exposure Meters (Amazon UK)
- Ilford Multigrade Darkroom Paper (Amazon UK)
- Darkroom Starter Kits & Accessories (trays, easels, chemicals) (Amazon UK)