How to Set Up a Darkroom Enlarger for Beginners — Step-by-Step UK Guide
Getting a darkroom enlarger running for the first time is genuinely straightforward, but there are enough small details that rush it and you'll waste paper, chemicals, and hours chasing fuzzy prints. This guide walks you through preparing your space, assembling the enlarger, and making your first properly aligned prints.
Why Bother With a Darkroom Enlarger?
If you're shooting film and want control over your prints—contrast, dodging, burning, paper choice—an enlarger is what makes it happen. Digital scanning and printing can work, but many photographers prefer the tactile, deliberate process of working in the darkroom. You'll also find that enlargers are genuinely cheap on the secondhand market in the UK right now, often £40–£150 for a solid older model.
Preparing Your Darkroom Space
Your enlarger needs a stable, level bench in a room you can blacken completely. Most home darkrooms end up in spare bedrooms, basements, or sheds—anywhere with a work surface and access to water and mains power.
Bench and stability: The enlarger must sit flat and stable. Any wobble will show as soft focus when you print larger. Use a sturdy desk or build a simple wooden bench—IKEA desks work fine, or look for old office desks secondhand. Check with a spirit level (this is worth buying if you don't have one; a basic one is a few quid). If your bench is slightly uneven, shim it with hardboard or plywood until it's level.
Darkroom integrity: You need genuine darkness for enlarging. During actual printing, total darkness is essential. Test this: sit in your space with the lights off for a few minutes. You shouldn't see your hand in front of your face. Seal large gaps around doors with blackout tape or draft excluders. Windows need blackout curtains or removable panels—heavy velvet works, or cheap blackout fabric stuck to battens you can lift out.
For a working red safelight, you'll need a proper darkroom safelight with a red filter—never improvise with a red light bulb. A proper safelight costs £15–£40 and gives enough light to see your prints developing without fogging them.
Electrics and water: You need access to a mains socket for the enlarger and a room temperature or cold water tap for rinsing. Don't run extension leads under wet hands or through puddles. If your space is damp, use a RCD-protected socket. The enlarger's timer will also need a plug.
Setting Up Your Enlarger
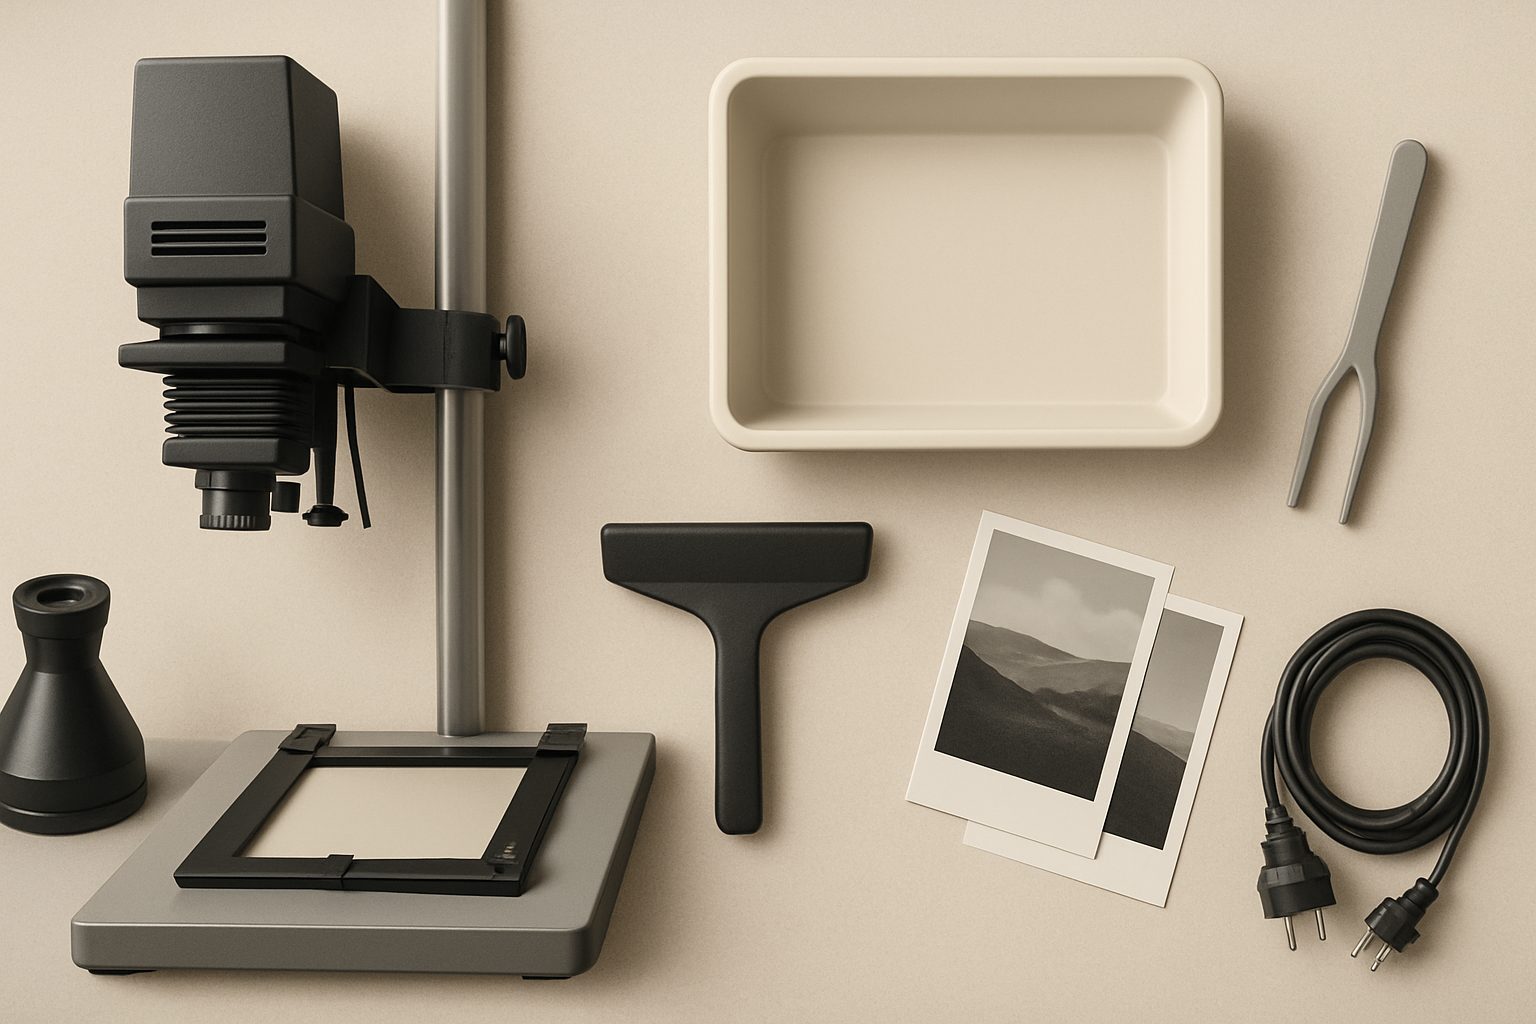
Most enlargers come as separate pieces: the head (containing the light and lens), the column (the vertical pole), the baseboard, and sometimes the negative carrier separately.
Assembly: Follow the manufacturer's instructions, but the basics are: screw the column to the baseboard, slot the head onto the column, secure it, and fit the negative carrier. Don't tighten everything aggressively—you need to be able to move the head up and down smoothly. Check that the head slides without sticking and that the focusing knob moves freely.
Lens and bellows: Most enlargers come with a lens already fitted. Check that the glass is clean inside and out—dust will show on your prints. The bellows (the accordion section) should have no holes or light leaks. Check by standing in the dark with a torch inside—you shouldn't see light coming through.
Alignment and Levelling
This is the step many beginners skip, and it's why their prints are fuzzy at the edges.
Head alignment: The enlarger head must be square to the baseboard. Many enlargers have a swing arm at the base of the column to check this. Place a small spirit level on the negative carrier table, with the enlarger lens directly above it. Adjust the column or baseboard until the level reads true in both directions.
Baseboard levelling: If your baseboard itself isn't level, adjust your bench. Use a proper spirit level on the baseboard surface, not just the top. This matters more than most beginners expect.
Lens centering: Switch the enlarger on (in a lit room first), project an image onto white paper on the baseboard, and check that the edges are even. If one corner is closer than another, the head is tilted. Adjust the column's base plate until the image fills the paper evenly.
Focusing and Making Your First Print
Once aligned, the focusing process is straightforward. Place your negative in the carrier (shiny side down, usually), switch on the enlarger lamp, and use the focusing knob to sharpen the projected image on a piece of white paper where your printing paper will go. You'll see the image get sharper as you turn the knob. Go slightly past sharp, then back up to it—this accounts for the slight refocusing needed when you swap paper in.
For your first prints, try a standard 6×4 or 8×6 enlargement. You don't need a complicated test strip process yet—just expose a piece of paper under the enlarger for a few seconds, develop it, and see what density looks right. Adjust exposure time and try again. It's quick once you've done it once.
Common Beginner Mistakes
Vibration during exposure: The enlarger vibrates slightly when the lamp switches on or off. Wait a few seconds after switching on before exposing. Don't bump the enlarger or baseboard during exposure.
Dust on the negative: Even a speck looks like a mark on your print. Use a clean, soft brush before loading the negative.
Forgetting the red safelight: Work by red safelight only during exposure and printing. Switching on regular lights ruins the print mid-development.
Ignoring the baseboard tilt: The most common cause of fuzzy prints is an unlevel baseboard or tilted head. Spend ten minutes getting it right the first time.
Next Steps
Once you've made a few prints successfully, explore a basic timer (essential for consistent exposures) and a proper printing easel. An easel costs £20–£40 and makes borderless prints much easier. You'll also benefit from reading about dodging and burning if you want to control contrast within a single print.
The fundamentals above will get you making sharp, properly exposed prints. The rest is practice.
More options
- Darkroom Enlargers (various brands) (Amazon UK)
- Enlarger Lenses (El-Nikkor, Rodagon, Componon-S) (Amazon UK)
- Darkroom Timers & Exposure Meters (Amazon UK)
- Ilford Multigrade Darkroom Paper (Amazon UK)
- Darkroom Starter Kits & Accessories (trays, easels, chemicals) (Amazon UK)